Achieve Perfect
Land Grading
Did you know that 40% of structural problems in buildings start with improper ground leveling?
From cracked foundations to drainage nightmares, uneven ground can turn your dream project into an expensive headache. But here's the good news: achieving perfect ground leveling isn't rocket science. With the right tools and techniques, you can create a stable foundation for any construction project.
Professional land grading services can cost thousands of dollars, but many property owners successfully tackle this crucial task themselves. Whether you're preparing to build a shed, install a patio, or fix drainage issues, proper ground preparation makes all the difference.
In this step-by-step guide, we'll show you exactly how to achieve perfect ground leveling for your project, from initial site assessment to final inspection. Let's dig in!
Understanding Ground Leveling Basics
Ground leveling is more than just moving dirt around—it's a precise science that requires understanding key principles and techniques. Let's explore what makes ground truly level and why it matters for your project's success.
What Makes Ground Level 'Perfect'
Perfect ground leveling isn't about creating a completely flat surface. Instead, it's about achieving the right balance of slope and stability. A properly leveled ground should have a slight grade—typically a quarter-inch drop per linear foot away from structures. This careful calculation ensures proper drainage while maintaining structural integrity.
Compaction: Determines stability
Drainage: Affects water flow
Erosion potential: Influences long-term success
Shear strength: Controls surface stability
Common Leveling Challenges
Even experienced contractors face various obstacles when tackling ground leveling projects. Some of the most frequent challenges include:
Poor soil composition affecting stability
Existing drainage issues requiring correction
Underground utilities requiring careful planning
Varying soil types across the project area
Weather-related complications during work
Benefits of Proper Ground Leveling
When executed correctly, professional ground leveling delivers significant advantages for your property. Proper drainage becomes the foundation for all other benefits, leading to:
Enhanced structural stability for buildings and installations
Improved property value (up to 15% increase)
Better lawn health and reduced maintenance needs
Decreased risk of foundation damage
Enhanced safety with reduced tripping hazards
More efficient water distribution
Reduced pest problems from eliminating standing water
Greater usability of outdoor spaces
The key to successful ground leveling lies in understanding that it's not just about esthetics—it's about creating a foundation that protects your investment and ensures long-term stability. By maintaining proper slopes and considering soil properties, you're setting the stage for successful construction or landscaping projects.
Essential Tools and Equipment
Successful ground leveling requires the right combination of tools and equipment. Let's explore the essential implements that will help you achieve professional-grade results.
Manual Leveling Tools
The foundation of any ground leveling project starts with reliable manual tools. A laser level serves as your primary precision instrument, ensuring accurate measurements across your work area. The Quick-E Laser Rod has become an industry standard for achieving perfectly level surfaces. Pair this with a professional-grade yard leveling rake, which helps distribute material evenly and remove surface irregularities.
Laser Level: Precision measurement; best for all projects
Leveling Rake: Material distribution; best for small-medium areas
Grade Stakes: Reference points; best for layout marking
Hand Tamp: Soil compaction; best for confined spaces
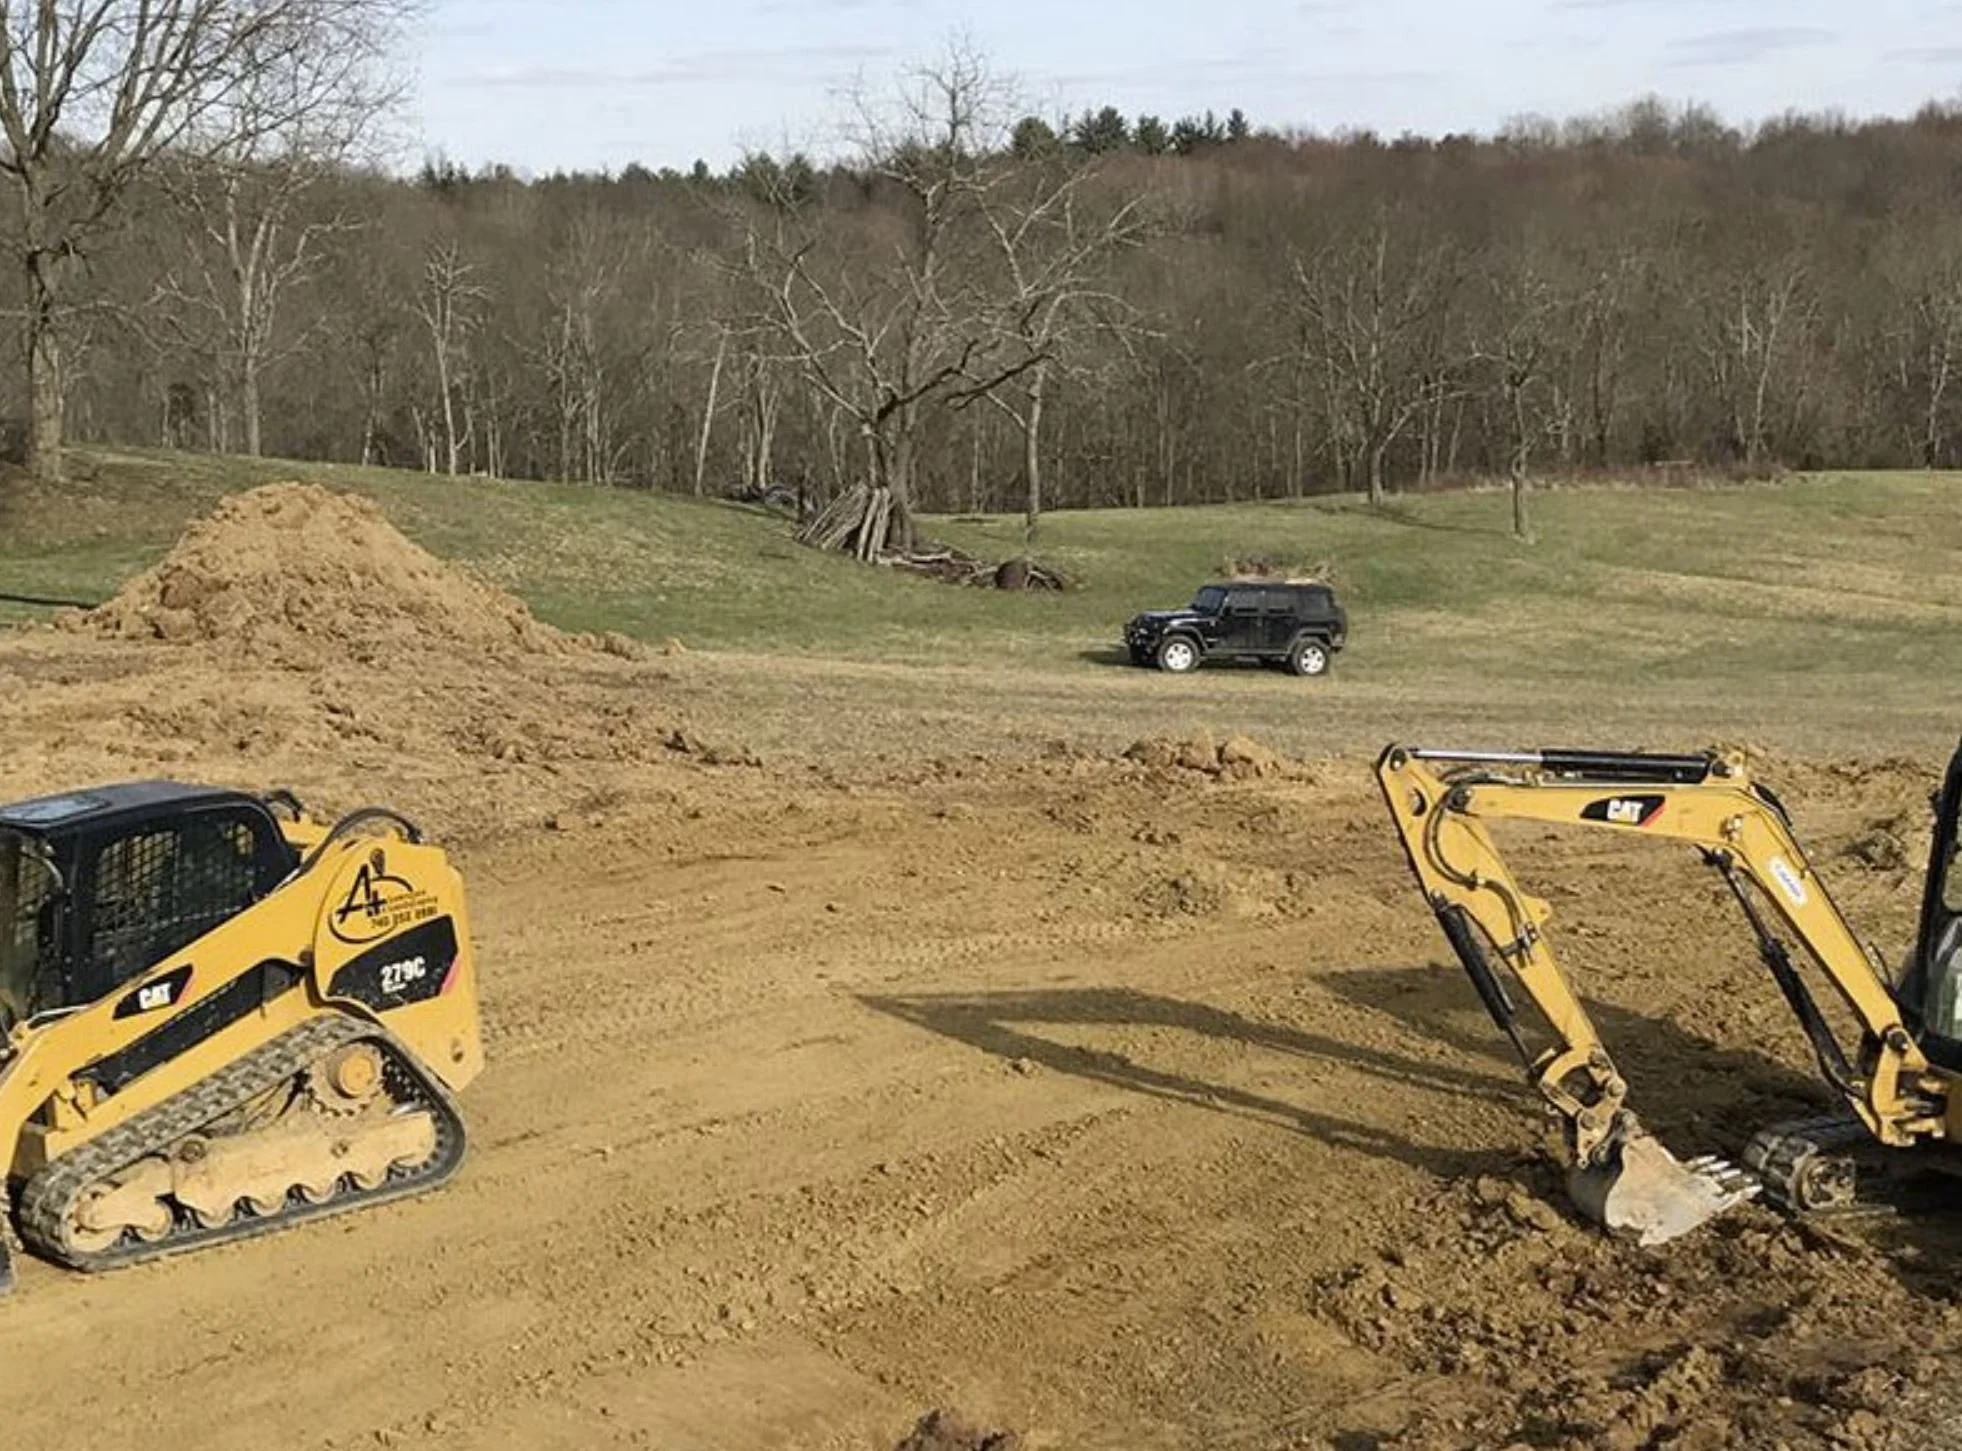
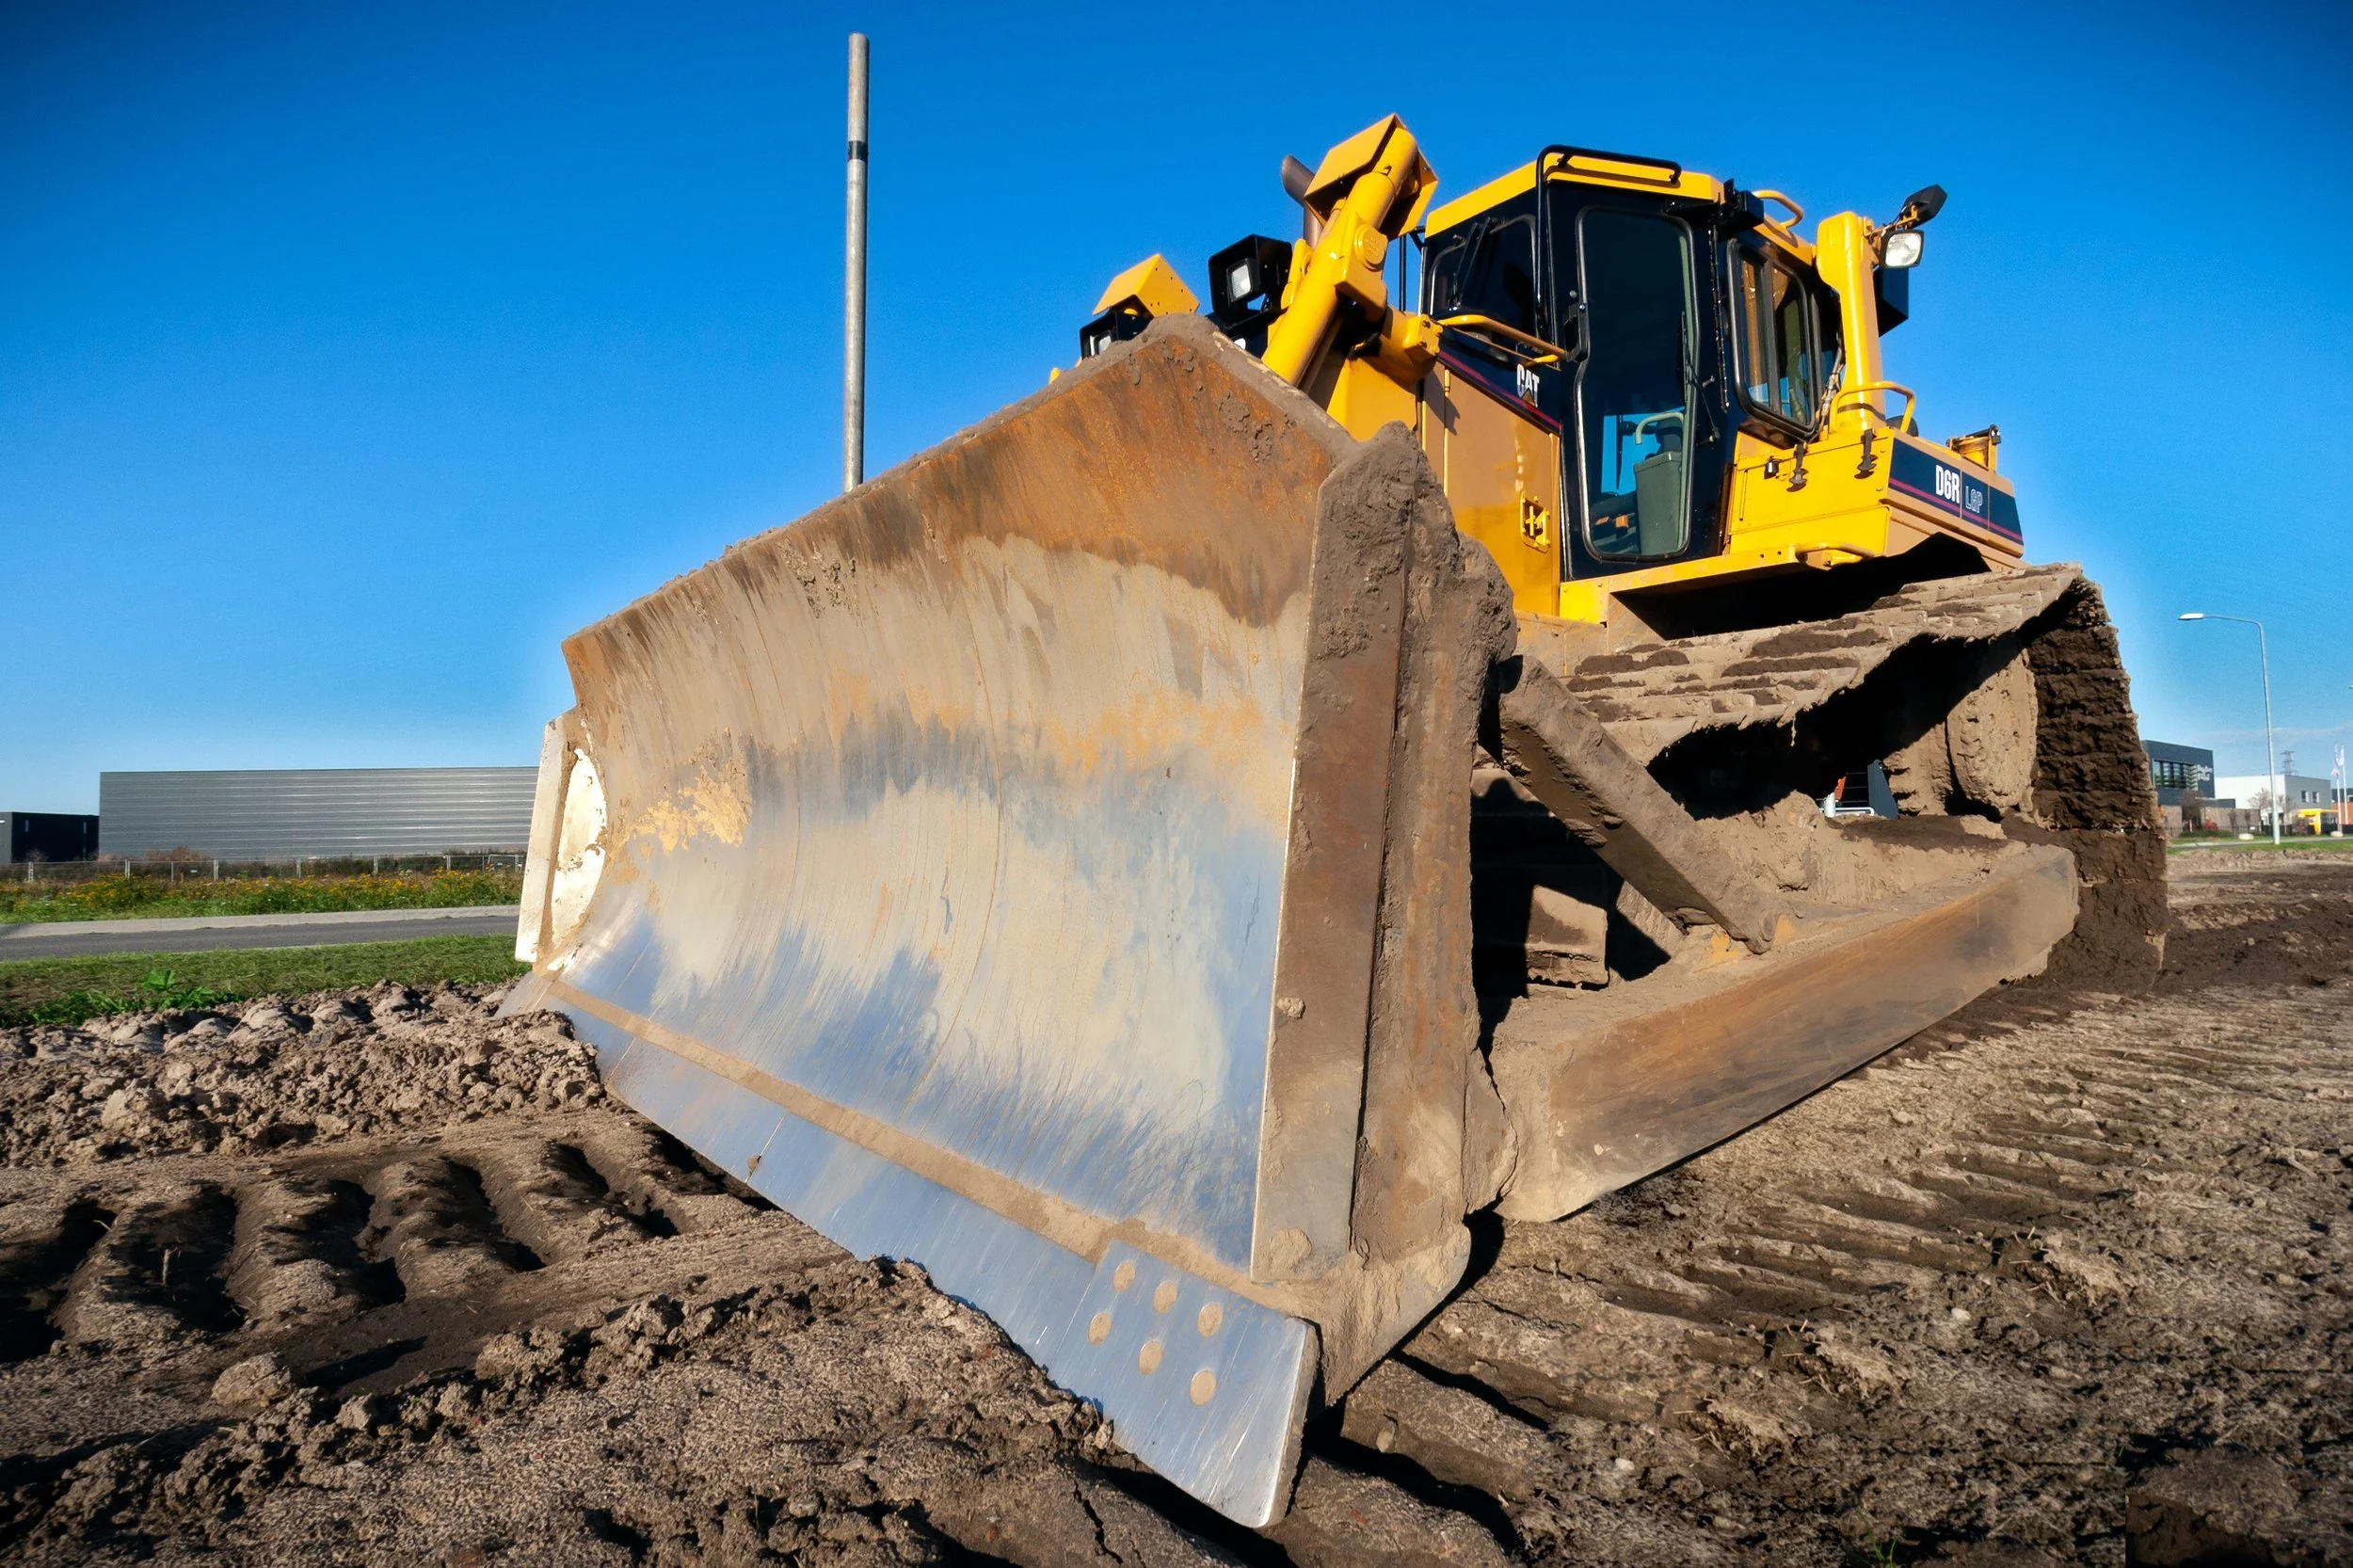
Power Equipment Options
For larger projects, power equipment becomes invaluable. Skid steers equipped with grading attachments offer versatility and efficiency in material movement. The choice of power equipment depends on your project scope:
Motor Graders: Ideal for precise grading and creating accurate slopes
Bulldozers: Perfect for rough grading and moving large amounts of material
Compact Track Loaders: Excellent for confined spaces and detailed work
Wheel Tractor Scrapers: Best for wet soil conditions and material transport
Choosing the Right Tools for Your Project
Selecting appropriate tools requires careful consideration of several factors. Project size significantly influences your choice—small residential projects might only need manual tools, while larger commercial projects demand heavy machinery. Consider these key factors:
Surface area to be leveled
Soil type and condition
Required precision level
Budget constraints
Access to power sources
For optimal results, combine both manual and power tools. For instance, use a skid steer for initial rough grading, followed by a laser level and rake for finishing work. This approach ensures both efficiency and precision in your ground leveling project.
Remember that investing in quality tools, especially precision instruments like laser levels, can significantly impact your project's success. While premium equipment might cost more initially, it often proves more cost-effective through improved accuracy and reduced labor time.
Site Assessment and Planning
A thorough site assessment sets the foundation for successful ground leveling. Before moving any soil, understanding your site's characteristics is crucial for achieving optimal results.
Measuring Ground Slope
Accurate slope measurement is essential for proper ground leveling. The industry standard recommends a slope of 6 inches over the first 10 feet from any structure. To measure your ground slope:
String Level:
Distance: 10 feet
Recommended Slope: 6 inches drop
Laser Level:
Distance: 100 feet
Recommended Slope: 2 feet drop
Grade Stakes:
Distance: 1 foot
Recommended Slope: ¼ inch drop
For precise measurements, use two wooden stakes and string to create a level line. Measure the vertical distance from this line to the ground at various points to determine your current slope gradient.
Identifying Problem Areas
Site inspection reveals crucial issues that need addressing during your ground leveling project. Look for these key indicators:
Standing water after rainfall
Visible soil erosion patterns
Uneven grass growth or bare patches
Foundation dampness or water marks
Soil cracks or unusual settling
Critical Assessment Points include checking soil composition, identifying underground utilities, and evaluating drainage patterns. Pay special attention to areas near structures where proper grading is essential for foundation protection.
Creating a Leveling Plan
Develop a comprehensive leveling plan based on your site assessment findings. Start by marking your property boundaries and creating a detailed topographic map of your site. Consider factors like:
Natural water flow patterns
Existing landscape features
Access points for equipment
Soil disposal or redistribution areas
Timeline for completion
Your plan should include specific elevation targets for different areas of your property. Document existing grade levels and planned final elevations, ensuring proper drainage away from structures. Include contingency plans for unexpected conditions like hidden rocks or poor soil quality.
Remember to factor in local building codes and regulations regarding maximum slope gradients and drainage requirements. Professional surveyors can provide detailed topographic maps if needed for larger or more complex projects.
Step-by-Step Leveling Process
The success of your ground leveling project hinges on following a systematic approach. With your site assessed and tools ready, let's dive into the actual leveling process that transforms uneven terrain into a perfectly graded surface.
Clearing and Preparing the Site
Begin your ground leveling journey by creating a clean slate. Remove all vegetation, debris, and obstacles from the work area. For optimal results, follow these essential steps:
Cut existing grass to its shortest possible length
Remove all rocks larger than 2 inches in diameter
Clear any remaining vegetation and roots
Mark underground utilities with bright flags
Establish grade stakes at key reference points
Important: Never skip the clearing phase, as hidden debris can compromise your final results and potentially damage equipment.
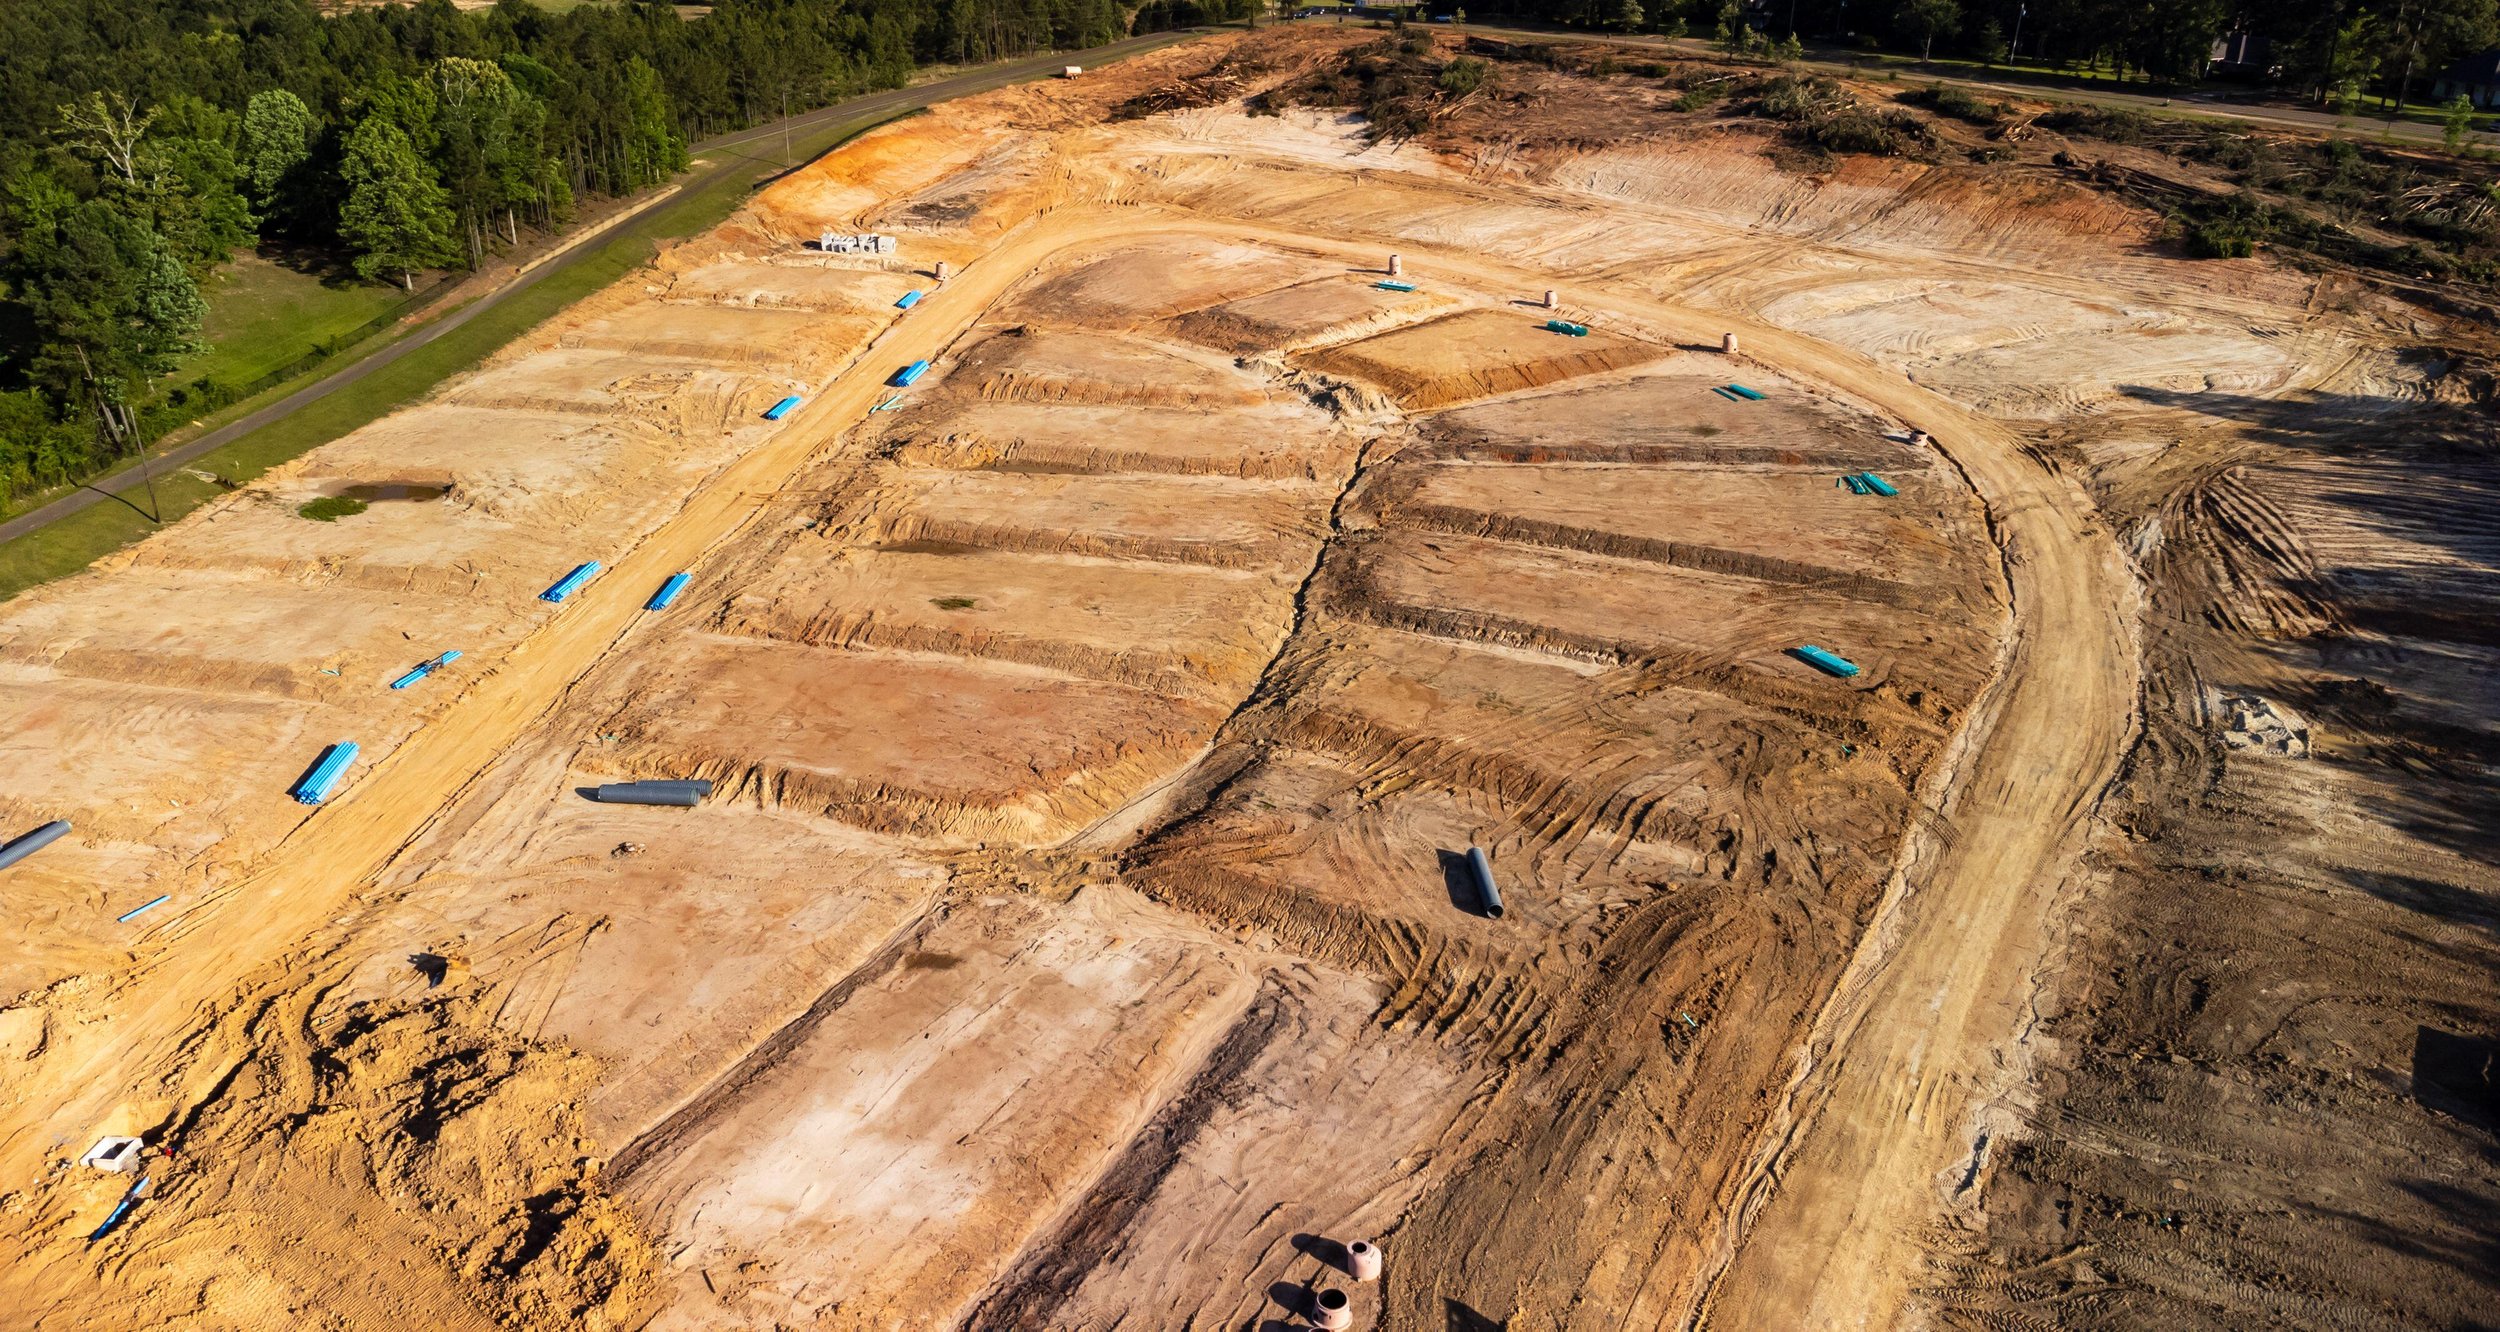
Rough Grading Techniques
Rough grading forms the foundation of your leveling project. This phase involves moving significant amounts of soil to achieve basic elevation requirements. The process typically uses heavy equipment to:
Remove soil from high spots (cut)
Fill low areas with quality material (fill)
Create approximate slopes for drainage
For optimal results, maintain a soil mixture ratio as follows:
Topsoil:
Ratio: 2 parts
Purpose: Nutrient base
Sand:
Ratio: 2 parts
Purpose: Drainage
Compost:
Ratio: 1 part
Purpose: Soil structure
Fine Leveling Methods
Fine leveling transforms rough-graded terrain into a precisely contoured surface. This phase requires patience and attention to detail. Start by establishing a reference height using your laser level. Work in systematic patterns:
Begin at the highest point and work downward
Maintain consistent 6-inch lifts for soil placement
Compact each layer before adding the next
Check levels frequently using your laser level
Ensure proper slope (¼ inch per foot) away from structures
Pro Tip: Water the area lightly between compaction phases to achieve optimal soil density. This helps prevent future settling issues and ensures long-term stability of your leveled ground.
Remember to test the soil compaction regularly during the fine leveling phase. A properly compacted surface should feel firm under foot but not completely rigid. This balance ensures both stability and proper drainage for your finished project.

Testing and Quality Control
Quality control represents the final frontier in achieving perfect ground leveling results. After completing the physical work, proper testing ensures your efforts meet professional standards and will stand the test of time.
Using Level Testing Tools
Professional ground testing requires precise measurements and consistent methodology. The industry standard recommends testing every 100 square feet of leveled surface. A quality control testing program should include:
Slope Verification:
Frequency: Every 100 sq ft
Acceptable Range: ¼ inch per foot
Compaction Testing:
Frequency: Every 200 sq ft
Acceptable Range: 95% maximum density
Moisture Content:
Frequency: Daily
Acceptable Range: 2-3% below optimum
Surface Evenness:
Frequency: Every 50 linear ft
Acceptable Range: ±⅛ inch tolerance
When using laser levels for final testing, maintain consistent height measurements by establishing permanent reference points. This ensures accuracy across multiple testing sessions and provides documentation for future reference.
Common Issues and Solutions
Even carefully executed ground leveling projects can encounter challenges during the testing phase. Here are proven solutions for frequent issues:
Inconsistent Readings: Calibrate testing equipment daily and verify battery levels
Soil Settlement: Allow 24-48 hours between final grading and testing
Moisture Variations: Conduct tests during similar weather conditions
Equipment Malfunctions: Keep backup testing tools on-site
Documentation Errors: Use digital recording methods with time stamps
For optimal results, maintain detailed records of all test results, including weather conditions and soil moisture levels at the time of testing.
Final Inspection Tips
Final inspection requires a systematic approach to ensure no areas are overlooked. Create a comprehensive checklist that includes:
Visual Assessment
Check for uniform appearance
Look for signs of erosion
Inspect drainage patterns
Verify slope consistency
Physical Testing
Roll a ball across the surface to detect dips
Walk the entire area noting any soft spots
Test drainage with controlled water flow
Measure compaction at multiple points
Remember that proper documentation during testing serves as protection against future disputes and provides valuable reference for maintenance work. Take photographs of testing procedures and maintain detailed logs of all measurements.
For areas showing minor discrepancies, mark them clearly with survey flags and address issues immediately rather than waiting. This proactive approach prevents small problems from becoming major concerns after project completion.
Professional testing equipment should be certified and calibrated according to manufacturer specifications. Many contractors overlook this crucial detail, but proper calibration can mean the difference between passing and failing final inspection standards.
Conclusion
Perfect ground leveling stands as a crucial foundation for any successful construction or landscaping project. Proper techniques, combined with the right tools and careful planning, help prevent costly structural issues while ensuring long-term stability of your property.
Professional-grade results demand attention to detail throughout each phase - from initial site assessment through final testing. Your dedication to following proper procedures, maintaining accurate measurements, and conducting thorough quality control checks will determine the success of your ground leveling project.
Remember that ground leveling excellence comes from patience and precision. Regular testing, careful documentation, and immediate problem resolution create lasting results that protect your investment. Start with thorough planning, execute with care, and verify your work through comprehensive testing - your perfectly leveled ground will reward you with years of stable, problem-free performance.